
I had a ton of fun making this layout for these pictures from a few years ago--No, of course I'm not behind in my scrapbooking!!
All the random pieces were cut with a rotary tool, leaving space for the pictures. The round photo and the edges of the pieces around it were cut with an older Creative Memories circles cutter.
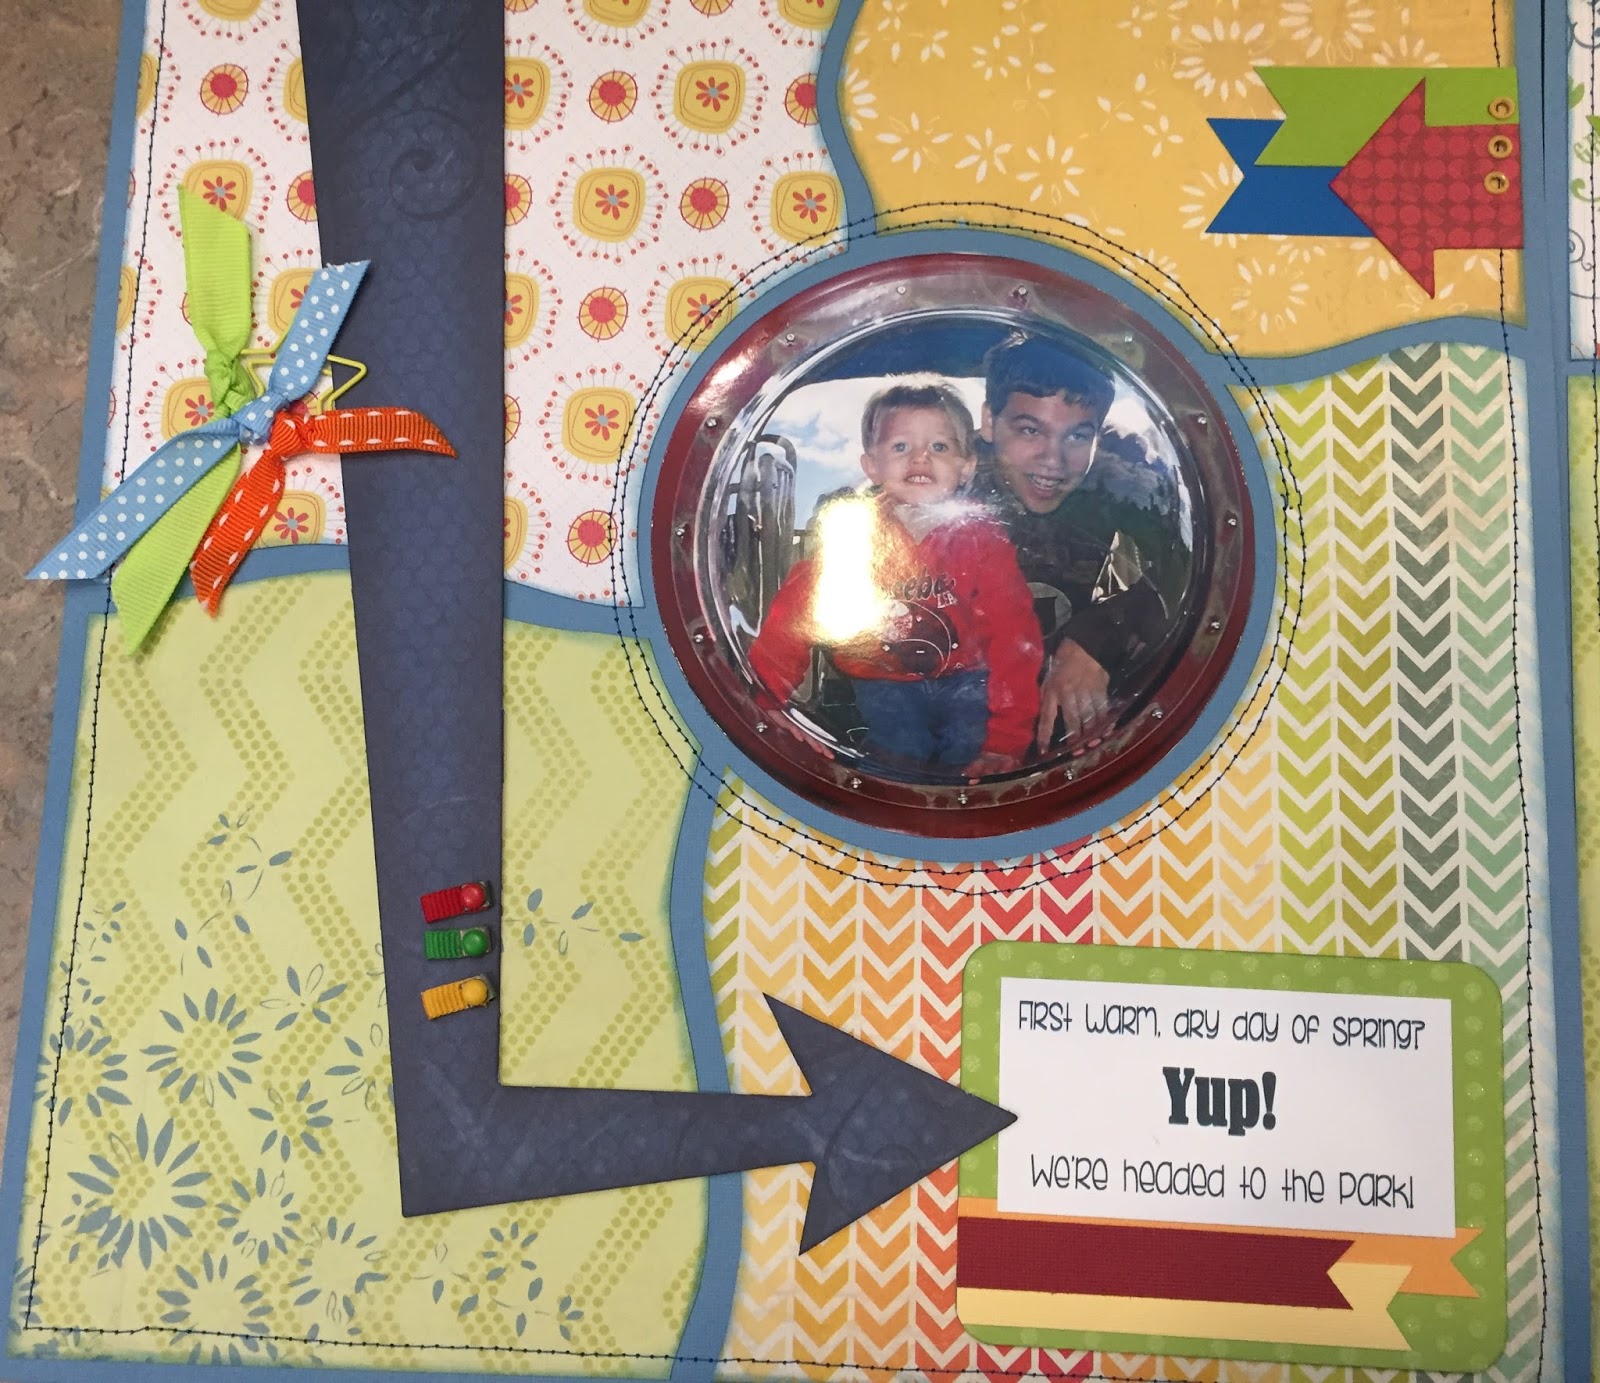
The arrow pieces were a set of embellishments that I was given--I have no idea the maker of them. Sorry! All the arrow pieces were attached with foam tape for dimension.

I printed the two journal/title sections and cut them with the paper trimmer. The larger one, I used to create my own Project Life style of card, with the smaller paper flags along the bottom.
The long one, I used the Stampin' Up Banner punch to repeatedly cut little fish-tails of different papers, and attached them on either side of the banner--I love the way that turned out!

A star paperclip with different ribbons on the first page is mirrored with the bits of ribbon under the title on the second page, held in place with over-sized staples.


And of course, the little primary colored ribbon & brad combos add color as well.
Bottom Line: Several of the papers were scraps, or at the very least, from paper-pads I already had on hand. All the embellishments were things from my stash, and most of them were actually fairly old and/or given to me for free! So, I have about $1 into the background card stock I used, plus the cost of printing the pictures, probably less than a $1 total, and of course the adhesives--maybe another $1 used of those (probably less, but whatever!) That means, for about $3 I was able to make this awesome page! Not too shabby, huh?? Don't let people tell you that you can't scrapbook on a budget!! :-)

Thanks for looking and sharing!
No comments:
Post a Comment